- Máquina de teste Universal/tração
- Máquina de teste universal
- Sistema de teste de fadiga
-
Sistema de teste automatizado de robô
- Série de máquinas de teste de
- Máquina de teste de
- Máquina de teste de torção
- Máquina de teste de
- Máquina de teste de fluência e ruptura
-
Máquina de teste de rolamentos elastoméricos
-
Máquina de teste de copo
- Máquina de teste de
-
Outra máquina de
- Série de equipamentos de teste de papel e embalagem
- Série de equipamentos de teste
- Série de equipamentos de teste
- Espectrôme
- Equipamento de teste para máscaras e tampas de proteção
- Máquina de teste de borracha de tubo de
- Outra máquina de
- Máquina de medição de
- Projetor de perfil óptico
- Máquina de medição de
- Medidor de força
- Máquina
-
Testador de dureza
- Testador de dureza rockwell
- Testador de dureza Brinell
- Testador de dureza Vickers
- Testador de dureza micro Vickers
- Testador de dureza universal
- Testador de dureza Leeb
- Testador de dureza webster
- Testador de dureza da costa
- Testador de dureza Barcol
- Testador de dureza ultrassônico
- Testador de dureza knoop
-
Série ndt
-
Microscópio
- Categoria:
- Acessórios da
- Câmara de alta e baixa temperatura
-
Máquina de teste de isolador
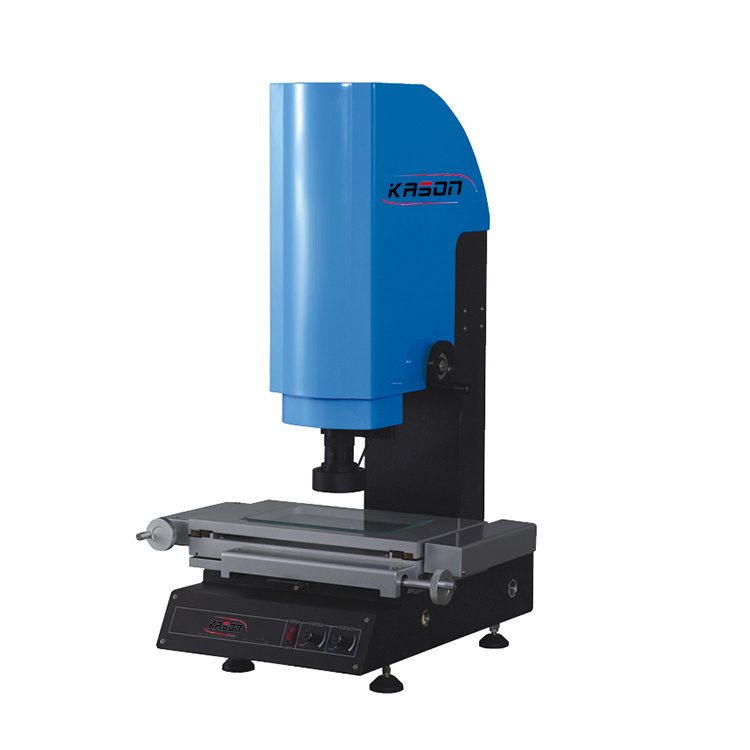
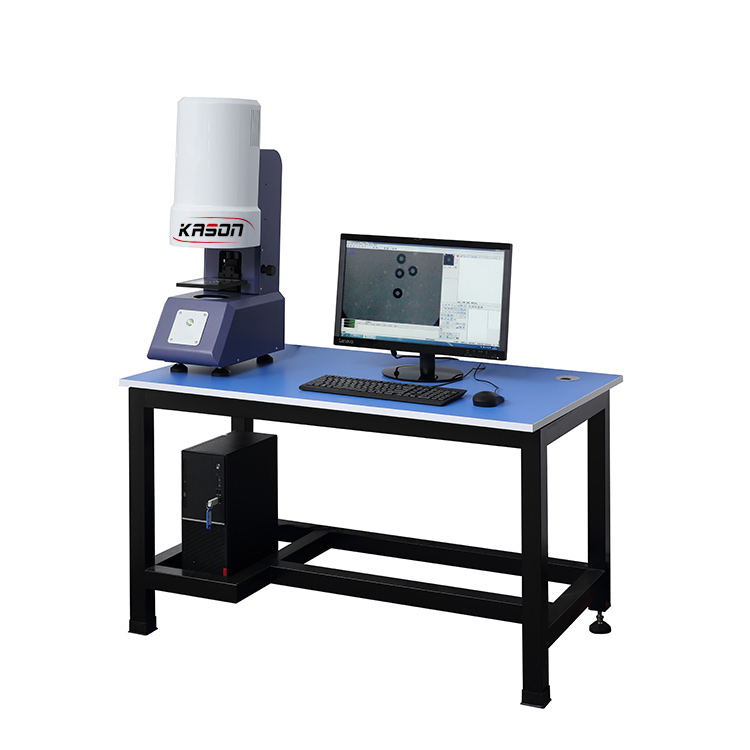
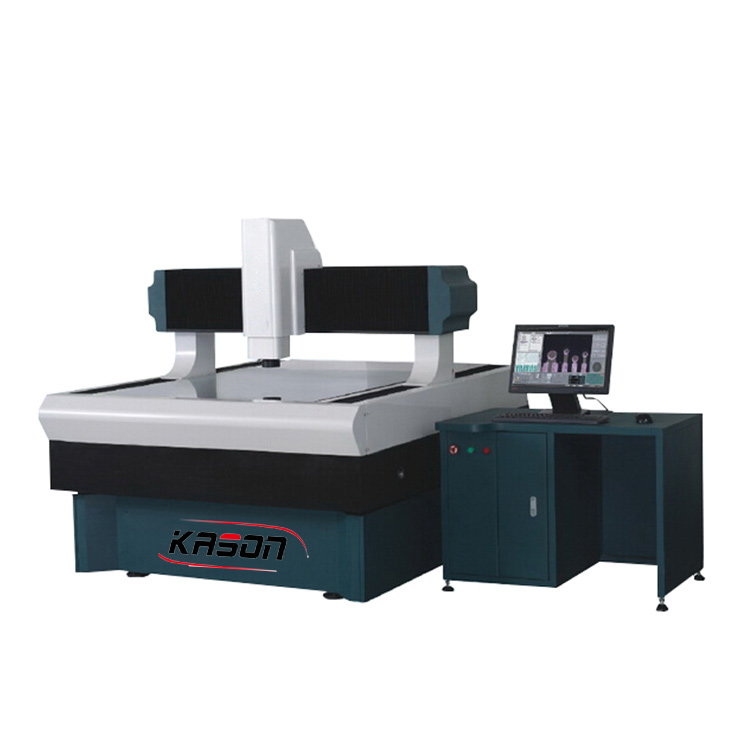
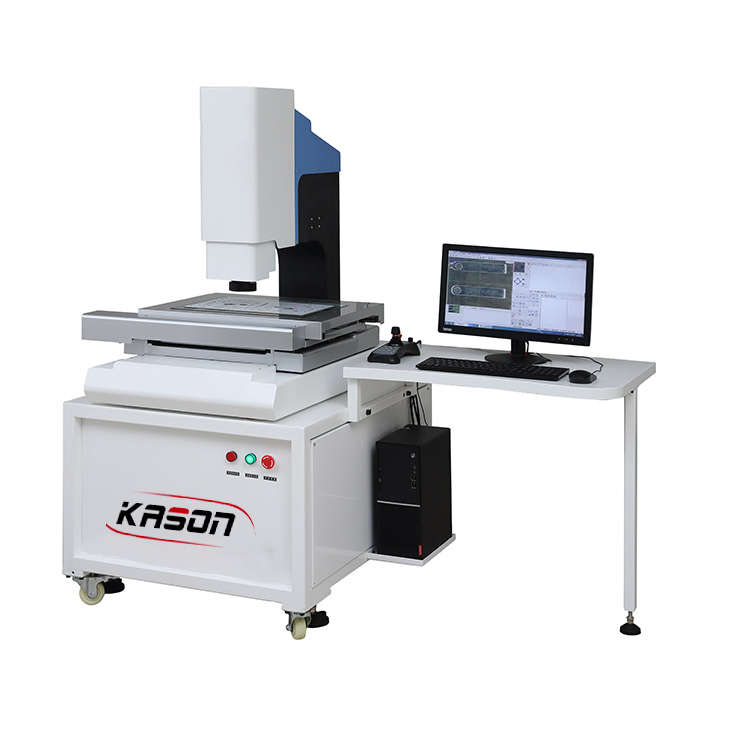
Video Measuring Microscope VMM-D Series
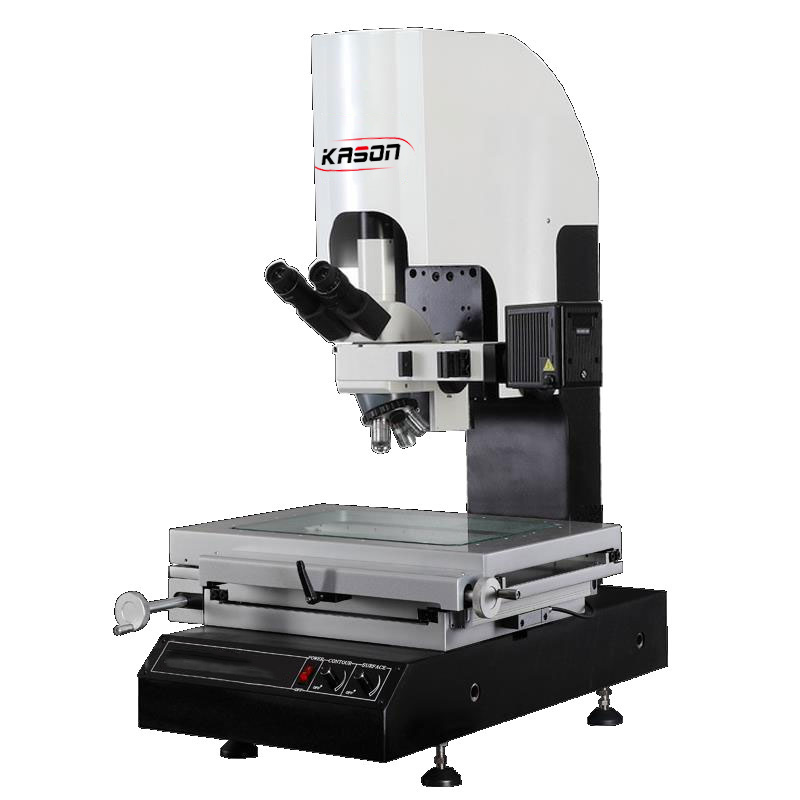


Product name:Video Measuring Microscope VMM-D Series
Product categories:Microscopes
Abstract:
VMM-D series, an integrated high-magnification, micron-industry-aimed measuring instruments developed by KASON. a.High magnification inspectioon b.High accuracy micron-level measurment c.High cost performance d.Combination of DRO and software met
1、 Purpose
The VMM-D series video measurement microscope is an integrated high magnification, micrometer level industrial measurement instrument developed by KASON Company.
Combined with powerful microscopic detection technology, it has been widely applied in many fields such as:
1. It is used as an observation microscope to detect the surface finish of workpieces by Comparative law, identify ore samples in the metallurgical industry, conduct photo printing test, and inspect fibers in textiles.
2. Measure the length in Cartesian coordinates. For example, measuring spacing, base distance, scoring distance, scoring width, slot width, slot width, through-hole outer diameter, etc.
3. Measure the angle of complex components such as dials, templates, gauges, drilling templates, etc.
4. With powerful metrology software on the PC side, there are not only microscopes, but also visual measurement systems, and more surprises waiting for you.
II. characteristic
1. The survey has a bright field of view, a positive image, and a clear picture.
2. Long working distance lens with a magnification of up to 2800 times.
3. Accurate and stable transmission, low friction, and long service life.
4. Electric Z-axis, which can achieve high-precision automatic focusing.
5. The X-axis and Y-axis are designed with built-in zero switches, which can be locked when needed.
6. Cooperate with powerful software KS-M ™, Can measure most 2D data and export measurement results as AutoCAD files and other reports.
Model | VMM-3020D | VMM-4030D | VMM-5040D |
stroke(X*Y*Z,mm) | 300*200*150 | 400*300*150 | 500*400*150 |
Dimensions (length * width * height, mm) | 670 x 660 x 950 | 720*950*1020 | 800*1040*1020 |
Weight (kg) | 260 | 315 | 500 |
accuracy E1* | for example,y ≤ (3.0+L/200) μm | ||
accuracy E2* | Exy ≤ (3.5+L/300)μm | ||
solve | 1/0.5μm | ||
camera | TEO™ 1/2” Color CCD camera | ||
optical system | Infinity-corrected optical system | ||
Eyepiece | WF10X(Ø22mm) | ||
Objective | PL 5X,10X,20X,50XPL | ||
Nosepiece | Intilted quintuple nosepiece for bright field | ||
| Coaxial coarse and fine adjustment, coarse adjustment distance 32mm,precision of fine adjustment:0.002mm,with tense adjusting device to prevent gliding. | ||
| 6V 30W/12V 50W halogen and brightness adjustable. | ||
Integrated field diaphragm,aperture diaphragm and pullerty pepolarizer | |||
Equipped with frosted glass,yellow/green/blue filters | |||
Max. Magnification | 2800x(Objective* 1/2’’ CCD Camera) | ||
Max. Work Piece Height | 150mm | ||
Power Supply | AC110V/60Hz, 220V/50Hz | ||
*According to our company’s testing standard
L is measured length (units: mm)
Specifications subject to change without notice.
Você também pode entrar em contato comigo por e-mail. Meu endereço de e-mail é admin@hssdtest.com


